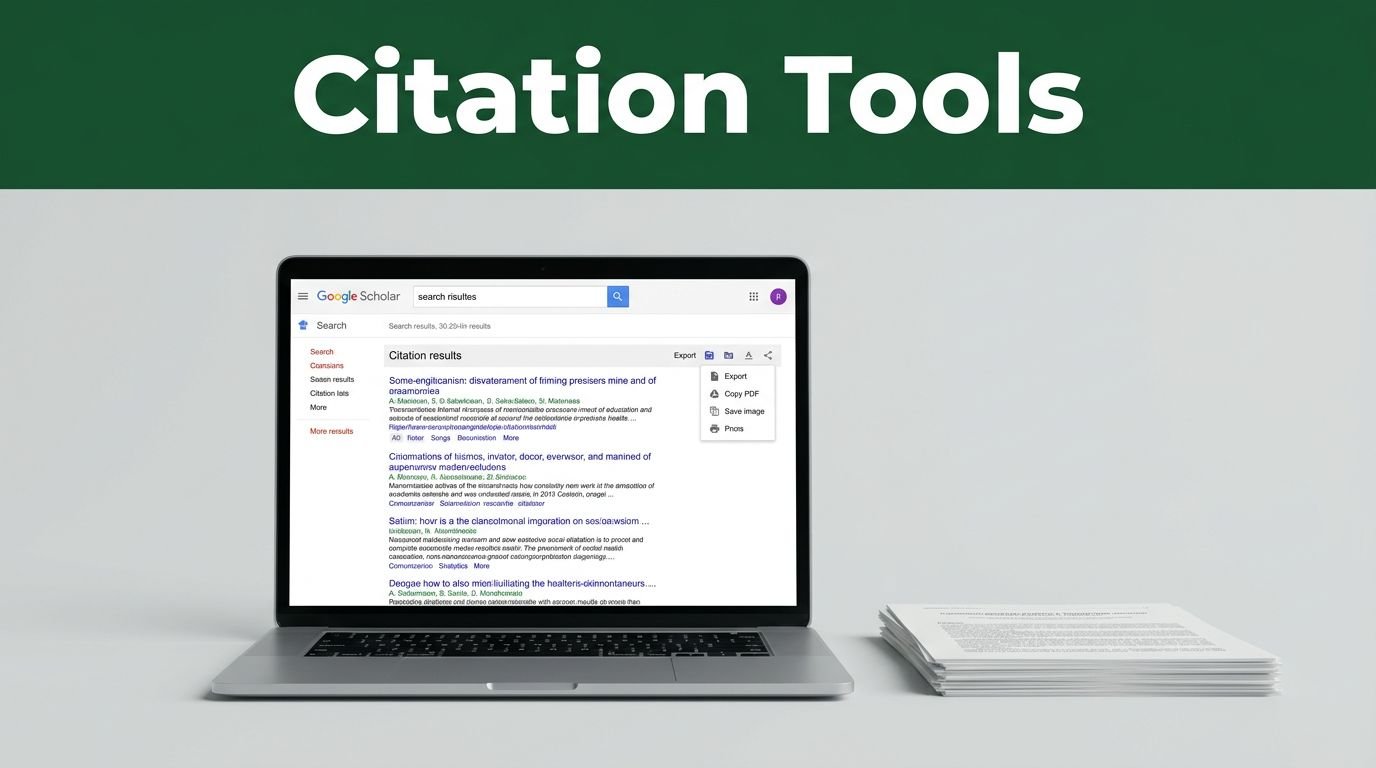
If you’ve ever needed a source fast, google scholarship citation is usually about one thing in practice, finding the right reference, copying it cleanly, and keeping your citations under control. Google Scholar makes that easier because you can pull up citation formats, export references, and track how often a paper gets cited without bouncing between a dozen tabs.
That matters when you’re writing, researching, or building a reading list and you don’t want errors sneaking into your bibliography. It also helps when a citation is missing, the format looks off, or you need to move references into Zotero, EndNote, or another tool.
The trick is knowing which Google Scholar option to use, and when.
Here’s how to get citations, export them the right way, and avoid the mistakes that waste time or leave you with messy references.
What Google Scholarship Citation Actually Means for You
When you see a citation option in Google Scholar, you’re not getting a polished final reference you can trust blindly. You’re getting a quick starting point, one that saves time but still needs your eyes on it.
That matters because google scholarship citation is less about convenience and more about control. You can pull a source into the format you need, copy it into your paper, and then check the details before it goes anywhere near your bibliography.
How Google Scholar shows citation formats right in the search results
Under many search results, you’ll see a quotation mark icon. That little icon is the citation shortcut. Click it, and a small box opens with ready-made formats you can copy right away.
You’ll usually see the most common styles students and researchers actually use:
- APA
- MLA
- Chicago
- Harvard
- BibTeX
The citation box usually gives you a plain-text version you can copy and paste into your draft. If you use reference software, the same box may also offer export options like BibTeX or RIS, which makes it easier to move the source into tools such as Zotero, EndNote, or RefWorks.
The citation box is fast, but it’s not a substitute for checking names, dates, page numbers, or journal details.
A smart way to use it is simple. Open the result, click the quotation mark icon, pick your format, then compare the copied citation with the source page or publisher record. If something looks off, fix it before you submit anything.
Why students and researchers use it instead of typing references by hand
If you’ve ever formatted ten sources at midnight, you already know the appeal. Google Scholar cuts down the time you spend building each reference from scratch, and that matters when deadlines are breathing down your neck.
It also helps you stay consistent. When you type references by hand, small mistakes creep in fast, like missing italics, wrong capitalization, or a date that slips into the wrong spot. Google Scholar gives you a base format, so you’re not rebuilding the same structure over and over.
For anyone juggling a long reading list, that speed adds up. You can move through sources faster, keep your formatting closer to the same style across the paper, and spend more energy on the actual writing.
Here’s the real advantage: less manual typing means fewer chances to break something. That’s useful whether you’re working on a class paper, a thesis, or a research project with dozens of citations.
How to get a citation from Google Scholar step by step
Getting a citation from Google Scholar is pretty simple once you know where to click. The main thing is to start with the right source, then copy the format you actually need, not just the first thing that pops up.
If you move too fast here, small errors can sneak in. That can mean the wrong author order, a missing edition, or punctuation that does not match your style guide.
Search for the exact source you want
Start with a title, author name, or a keyword phrase that points to the exact article, book, or paper. If the title is long or common, add the author’s last name or a unique phrase from the abstract to narrow it down.
That matters more than grabbing the first result. Two papers can sound almost identical, and one wrong click can leave you with the wrong year, journal, or version of the source.
A simple way to search is to use:
- The full title when you already know it
- The author name when the title is vague or repeated
- A keyword phrase when you only remember part of the source
Once you spot the right entry, open it and check the basic details. You want the exact source, not just something close enough.
The fastest citation is useless if it belongs to the wrong paper.
Click the citation icon and pick the format you need
Under the search result, look for the quotation mark icon. When you click it, Google Scholar opens a small citation popup with ready-made formats like APA, MLA, and Chicago.
From there, you can copy the citation straight into your document with one click. If you need a reference manager file, the same popup often gives you export options too, which is handy when you are moving sources into another system.
Before you paste anything, check the copied citation against the source details. Pay close attention to capitalization, punctuation, and edition information, because those are the spots where citation errors like to hide.
If something looks off, fix it right away. A clean citation should match the source, not just look close enough to pass at a glance.
Save the reference to your library for later
If you are gathering sources for a paper or project, click the star icon under the result to save it to your Google Scholar library. That adds the source to My library, where you can find it again without re-searching later.
This is useful when you are building a reading list over time. You can keep the sources you trust in one place, then return to them when it is time to cite, compare, or export.
A personal library also helps when your project grows fast. Instead of hunting through search results again, you have a short list of the exact papers you already planned to use.
You can think of it as your working shelf. The better you organize it now, the less time you waste when the paper is due.
The best ways to export Google Scholar citations into your writing tools
If you want cleaner references and fewer last-minute fixes, exporting your citations beats copying every detail by hand. With a google scholarship citation, you can move source data into the tools you already use, then clean it up where you write, rather than juggling tabs and retyping the same information twice.
The best method depends on your workflow. If you use a reference manager, BibTeX or RIS will usually save you the most time. If you write inside Google Docs, built-in citation tools can keep your bibliography moving while you draft.
Use BibTeX when you need a clean export for reference managers
BibTeX is a simple citation file format that stores source details in a structured way. Think of it like a neat container for author names, titles, journal info, dates, and other fields your reference manager can read without guessing.
This is a strong choice if you use Zotero or Mendeley, because it helps you move sources into another system without rebuilding them from scratch. You can export a BibTeX file from Google Scholar, import it into your manager, and then keep working with far less cleanup.
It also helps when you want a source library you can reuse later. Graduate students, thesis writers, and anyone handling a long reading list often prefer this route because it keeps references organized outside the document itself.
A simple BibTeX workflow looks like this:
- Save the paper to My Library in Google Scholar.
- Open your library and choose Export all.
- Select BibTeX.
- Import the file into your reference manager.
BibTeX works best when you want structure first and manual editing second.
If you notice small data gaps after import, that’s normal. Scholar gives you a solid starting point, but you should still verify the citation against the original source or publisher page.
Connect Google Scholar with Zotero, EndNote, or Mendeley
If you use a reference manager, the main advantage is simple, you avoid typing the same citation twice. Instead of copying author names, dates, and journal titles by hand, you send the citation into your manager and let it handle the formatting later.
Google Scholar gives you a few practical paths here. Zotero and Mendeley usually work well with BibTeX or RIS/RefMan files. EndNote uses its own export format, so choosing EndNote from Google Scholar makes the import smoother.
You can also turn on direct import links in Scholar settings. In the Bibliography manager area, you can show links to import citations into a manager, which adds a faster path under each result. That’s handy when you only need one source and don’t want to open your whole library.
Here’s the basic match-up:
Writing tool |
Best Google Scholar export |
Why it works well |
|---|---|---|
Zotero |
BibTeX or RIS |
Easy to import and edit later |
EndNote |
EndNote |
Matches the software format directly |
Mendeley |
BibTeX or RIS |
Fits a simple import workflow |
Once the citation is inside your manager, you can fix missing fields, organize folders, and generate the style your paper needs. That saves time when your draft grows and you need one reference system, not three.
Build your bibliography faster in Google Docs
If your draft lives in Google Docs, the citation tools inside Docs can keep your bibliography moving without forcing you to jump between apps. You can add sources as you write, then insert a works cited page or reference list when you’re ready.
The biggest benefit is flow. You stay in the same document, add citations as needed, and let Docs collect the source information in the background. That makes it easier to keep your references in sync with your draft, especially when you’re revising late in the process.
A good workflow is to pull your source details from Google Scholar first, then paste them into Google Docs’ citation panel or your connected source list. After that, you can insert in-text citations and build the bibliography from the same set of entries.
A few habits make this smoother:
- Keep source names consistent across your draft and bibliography.
- Add citations as you write, not after the paper is finished.
- Double-check author spellings and publication details before finalizing the reference list.
- Use the same citation style across the entire document.
If you already exported a citation file from Google Scholar, you can still use that material to save time. Import the source into your manager or reference list first, then let Google Docs handle the final presentation. That way, your google scholarship citation work stays organized instead of scattered across drafts and downloads.
For longer papers, that matters more than people think. A clean Google Docs workflow keeps your bibliography tied to the actual writing, so you spend less time fixing references and more time tightening the paper itself.
How to make your citations more accurate and complete
A copied citation is a starting point, not the final version you should turn in. If you want your references to hold up, you need to check the details, compare the format with your style guide, and clean up anything that looks thin or inconsistent.
That matters because google scholarship citation can save you time, but it can also carry over small errors from the source record. One missing author, one wrong title, or one sloppy date can throw off the whole reference list.
Check the format against the style guide your teacher or journal requires
APA, MLA, Chicago, and Harvard all play by different rules, so the same source will not look the same in every format. APA uses author-date structure, MLA leans on page numbers in-text, Chicago can use notes and bibliography, and Harvard has its own reference-list habits.
That means you should never trust the first version Google Scholar gives you without a quick check. A citation can look polished and still miss the exact punctuation, capitalization, or order your assignment requires.
A good habit is to compare each citation against the style guide you were given, not just against the format shown in Scholar. If your teacher wants APA 7, for example, make sure the title case, italics, and date placement match APA 7, not a rough copy of it.
If the style guide and the citation box disagree, the style guide wins every time.
Watch for duplicate records and incomplete source details
The same article can show up more than once in Google Scholar, especially if it exists in different versions, repositories, or preprint forms. If you grab the wrong one, you may end up citing an older draft, a duplicate entry, or a version with slightly different publication details.
Some citations also leave out key information. You might see a missing volume number, no page range, no DOI, or an author list that cuts off too early. Those gaps matter because a citation should point to the exact source, not just something close enough to recognize.
Before you submit, scan for these common issues:
- Duplicate records that point to different versions of the same paper
- Missing page numbers for journal articles
- Incomplete author names when the source record is thin
- No DOI or URL when the source has one
- Wrong publication year if the article appeared online before print
When you catch these problems early, you avoid the kind of citation errors that make a bibliography look rushed. It also helps the reader find the source without guessing.
Know when to edit the citation before you submit your work
A few small fixes can make a big difference. If Google Scholar leaves out a DOI, add it. If the article title is off by a word or two, correct it. If a journal name should be italicized or written in title case, fix that before you paste it into your paper.
Those edits matter because citation accuracy is about more than copying text. It is about matching the original source and presenting it in the right format, down to the details your professor, editor, or journal will notice first.
Use this quick checklist before you submit:
- Confirm the author names and order.
- Check the title against the publisher or journal page.
- Add the DOI, URL, volume, issue, or page range if needed.
- Make sure the journal name is formatted correctly.
- Re-read the final entry against your style guide.
If you use Google Scholar citations this way, you get speed without losing control. That is the sweet spot, quick enough to save time, careful enough to trust.
Google Scholar search tricks that help you find the right source faster
Google Scholar works best when you stop treating it like a basic search box. The right search trick can save you from scrolling through pages of near-matches, old versions, and papers that sound right but are not the one you need. A few small adjustments can cut the noise fast.
If you know how to tighten the query, you can find the exact paper, the right author, or the newest citation trail without wasting time. That matters when you’re collecting sources for a paper, checking references, or trying to confirm whether a study has been updated.
Use quotes, author names, and date filters to narrow your results
Quotes are the quickest way to tell Google Scholar, “I want this exact phrase, not a loose match.” If you search for "medical education" in quotes, you get results that contain that phrase together, instead of papers that just mention both words somewhere in the text.
Author names help in the same way. If a topic has a lot of overlap, adding author: can pull you toward the right researcher faster, especially when the title is common or the wording is broad.
A couple of easy examples make this clearer:
- Search
"cognitive load"if you need that exact concept, not papers that only mention cognitive and load separately. - Search
author:kahneman "prospect theory"if you want the work tied to Daniel Kahneman, not a random article that uses the same phrase.
Date filters are just as useful when you want newer sources or a paper from a specific period. On the left side of Scholar results, you can limit results by year, which is a simple way to avoid older studies when you need current research.
If your search feels messy, start with quotes, then add an author or year. That usually trims the list down fast.
Turn on library links and full text access when available
If your school or library has access to journal databases, Google Scholar can connect you to them. Once library links are turned on in settings, you may see direct full-text access next to results your institution already pays for. That means fewer dead ends and less copy-pasting of article titles into separate library portals.
This is where the process gets easier for you. Instead of hunting for a PDF elsewhere, you can click through to the version your library provides, which is a cleaner and more legitimate way to reach the full text. It also helps when you need to compare the abstract with the complete paper before you cite it.
You may also see a PDF link on the right side of some results. That can point to a free version in a repository, preprint server, or author page. When it shows up, it saves time because you can read the paper right away without guessing where it lives.
A quick habit helps here: check both the library link and the PDF link before moving on. One may give you subscription access, while the other gives you a free version that still gets you to the text you need.
Set up alerts so new citations do not slip past you
Alerts are the easiest way to keep Google Scholar working for you after the first search. Once you run a query that matters, you can set an email alert and get new results when fresh papers match that topic, author, or phrase. That is a big help if you’re tracking one subject over time.
This matters for ongoing research, literature reviews, and citation monitoring. If a new paper cites a key source you already use, or a new study appears in your topic area, you don’t have to keep checking the same search every week. Scholar brings it to you.
Use alerts when you want to stay current on:
- A thesis topic you are still building
- A researcher whose work you follow
- A citation chain you want to monitor
- A scholarship or education topic that changes often
That small setup can save you from missing a paper that would have fit your reference list perfectly. If you’re already using a google scholarship citation workflow, alerts keep that process alive instead of making you start from scratch every time you return to the topic.
Conclusion
When you use google scholarship citation the smart way, Google Scholar is the starting point, not the final stop. You get the citation box, export options, and search tricks that save time, but the real value comes from checking every reference before it goes into your paper.
That’s the part that keeps your bibliography clean. A quick review of names, dates, and format details is what turns a fast copy into a citation you can trust.
If you want a faster, cleaner way to manage sources, Google Scholar gives you a solid head start. Use it well, check each citation, and let the tools do the heavy lifting where they can.
This post may contain affiliate links. If you make a purchase through these links, I may earn a small commission at no extra cost to you.