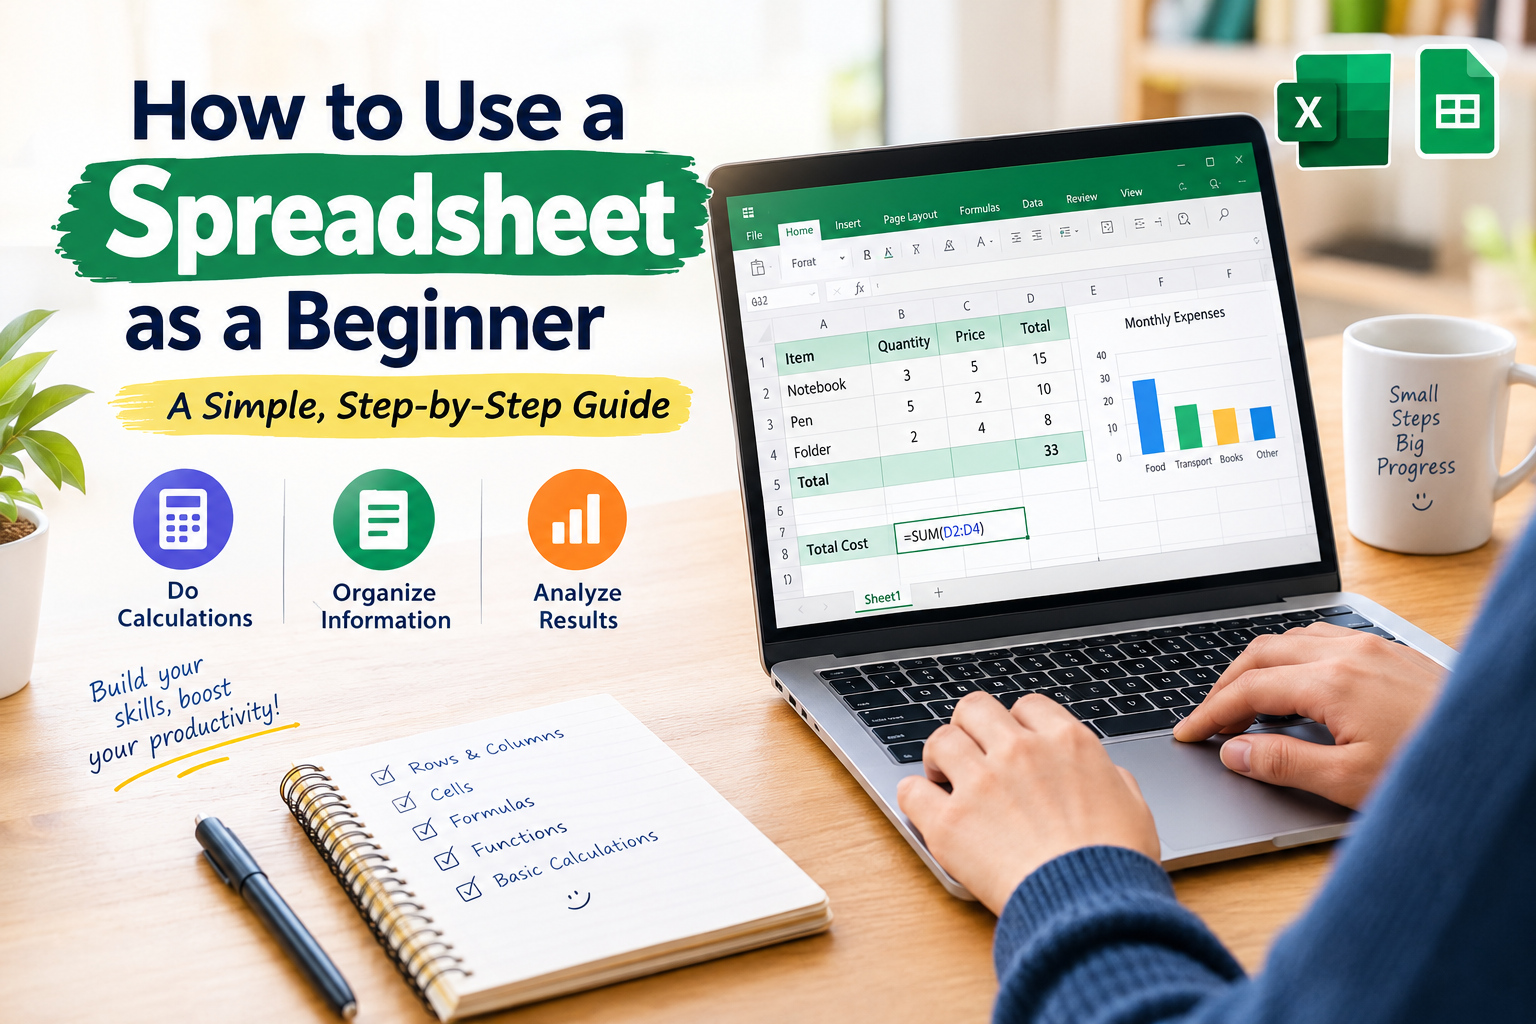
Let me take a guess, you’ve just heard about spreadsheet and probably wondering what it is, and how it can make your academic work easier as a student.
The truth is, the importance of know how to use a spreadsheet as students, including workers and business owners, can not be said enough. But learning how to use this tool can be a bit confusing for beginners.
I use to be that confused too.
The first time I opened Google Sheets, looking at all those little boxes, I quietly wondered, “What am I actually supposed to do here?”
So, don’t worry if this sounds like your story. You are not behind.
For many students like you, the word spreadsheet sounds more complicated than it really is. It can seem like something meant for accountants, data analysts, or computer experts rather than someone simply trying to keep track of assignments, scores, research data, or school expenses.
But a spreadsheet is much simpler than that. And shortly we will explore this together with simple steps to take.
In this guide, I will teach you how to use a spreadsheet as a student from the beginning, even if you have never created one before.
By the end, you should be comfortable creating a simple spreadsheet, entering information, understanding cells, and using basic formulas to perform calculations.
What Is a Spreadsheet?
To simply put this, a spreadsheet is a digital document that you can use to organize, store, calculate, and analyze information. Through this software you can arrange and analyze multiple data in the easiest way possible, using rows and columns.
“A spreadsheet becomes useful when it turns scattered information into something you can understand, calculate, and act on.”
You can use it to store things such as:
- Course scores
- Assignment grades
- Research data
- Study hours
- Expenses
- Deadlines
- Attendance records
- Scholarship information
There are a lot more you can do with a spreadsheet, not just as a student. Business owners, workers, and other professionals use it to organize data, automate calculations, and analyze trends.
We also recommended to students who are looking for how to find a Free graduate scholarship, to use spreadsheet to in order to monitor their application and work ahead of time.
Popular spreadsheet applications include:
- Microsoft Excel
- Google Sheets
- Apple Numbers
- LibreOffice Calc
Think of a spreadsheet as a large digital table.
For example, instead of keeping your scores scattered across different pages of a notebook:
Course |
Score |
|---|---|
Mathematics |
72 |
English |
68 |
Biology |
81 |
Chemistry |
75 |
you can put them into a spreadsheet where the information is easier to organize and calculate.
And that is where the real advantage begins. Because a spreadsheet doesn’t just store your information. It can also work with the information for you.
Why Should a Student Learn How to Use a Spreadsheet?
You may be thinking:
“I’m a student. Why should I bother learning spreadsheets?”
Because students deal with information constantly and without this software you it’s almost impossible to catch up.
You have scores, assignments, deadlines, research results, expenses, course units, survey responses, and other details that can quickly become difficult to manage.
A spreadsheet gives you one organized place to work with that information effectively.
More importantly, it can perform repetitive calculations for you and generate automated responses. Which means easier and faster work.
For example, instead of manually calculating your scores every time, you can use a spreadsheet to find your:
- Total score
- Average
- Highest score
- Lowest score
- Percentage
- Number of entries
Once you start using spreadsheets this way, you begin to see them as more than tables. They become tools for working smarter.
What Are the Basic Parts of a Spreadsheet?
Before you start, there are a few terms you need to understand about how to use a spreadsheet.
Don’t let the terminology scare you. Once you see the spreadsheet in front of you, these concepts become quite simple to understand.
1. Workbook
Similar to physical notebook, a workbook is the spreadsheet file itself.
For example, when you create a new Excel file or sheet, you are creating a workbook.
You could name your workbook:
My Academic Record
That workbook could contain different worksheets for your academic information.
2. Worksheet
A worksheet is an individual page inside a workbook. Assuming a workbook is a notebook, a worksheet is a single page in that book.
So to say, a single workbook can contain as many worksheets as your computer’s available memory allows
For example, your workbook could contain:
- First Semester
- Second Semester
- Third Semester
- Research Data
- Expenses
This is useful because you don’t have to put every piece of information on one crowded page.
3. Rows
Roles in a spreadsheet are the horizontal blocks of cells that run from left to right across the worksheet. Each row is identified by a unique number located on the left side of the screen
Such as:
Row 1. |
|||
Row 2. |
|||
Row 3. |
|||
Row 4. |
4. Columns
Columns are the vertical blocks of cells that run from top to bottom down the page. Each column is identified by a unique letter or combination of letters located at the top of the grid
For example:
Column (A) |
Column (B) |
Column (C) |
Column (D) |
Column (E) |
|
5. Cells
A cell is one individual box in the spreadsheet.
Every cell has an address based on its column and row.
For example:
A1
means Column A, Row 1.
B4
means Column B, Row 4.
This becomes particularly important when you start using formulas.
A |
B |
C |
D |
E |
|
1. |
(Cell) |
(Cell) |
(Cell) |
||
2. |
(Cell) |
(Cell) |
|||
3. |
(Cell) |
(Cell) |
(Cell) |
||
4. |
(Cell) |
(Cell) |
How to Create Your First Spreadsheet
Now let’s stop explaining and actually build one example of a student spreadsheet.
Suppose you want to record your academic scores.
Open Microsoft Excel or Google Sheets and create a blank spreadsheet.
In the first row, create these headings:
Course |
Assignment |
Exam |
Total |
|---|---|---|---|
Mathematics |
18 |
62 |
|
English |
15 |
70 |
|
Biology |
20 |
65 |
|
Chemistry |
17 |
68 |
You now have a simple student spreadsheet.
But notice something.
The Total column is empty.
Let’s fix that.
How to Perform Calculations in a Spreadsheet
This is where spreadsheets become especially useful once you understand the simple formulas that make working with spreadsheets easier.
A spreadsheet uses formulas to perform calculations.
Most formulas begin with an equal sign: =
For example:
=2+3
produces:
5
But you can do something much more useful by referring to cells.
Suppose your Mathematics assignment score is in B2 and your examination score is in C2.
Click D2 and enter:
=B2+C2
The spreadsheet reads that as:
“Add whatever is inside B2 to whatever is inside C2.”
If B2 contains 18 and C2 contains 62, D2 becomes:
80
And just like that, you have just created your first spreadsheet formula.
Google’s official documentation confirms that formulas and functions can be used to automate calculations in Sheets and that formulas are entered by beginning with an equal sign.
What Is a Cell Reference in Spreadsheet?
A cell reference is simply the address of a cell.
When you write:
=B2+C2
you aren’t telling the spreadsheet to permanently add the numbers 18 and 62.
You are telling it to look at cells B2 and C2 and add whatever values are there.
That means if you change B2 from 18 to 20, the total automatically changes without having to edit the cells manually.
This is one of the reasons spreadsheets are so useful.
You update the information once, and the calculation can update with it.
The Basic Spreadsheet Functions You Should Learn
You don’t need to memorize hundreds of formulas before you could effectively use spreadsheet.
Start with a few simple useful ones, such as:
1. SUM
SUM adds numbers within a range.
Example: =SUM(B2:B10)
This automatically adds every number from cell B2 down through cell B10.
You can use it to calculate:
- Total marks
- Total expenses
- Total study hours
- Total credits
2. AVERAGE
The AVERAGE function calculates the mathematical mean of the numbers in a range of cells.
Example: =AVERAGE(B2:B10)
This automatically adds every number from cell B2 down through cell B10, then divides the total by the number of cells.
It can help you calculate your average score across several tests or courses.
3. MAX
The MAX function finds the highest (maximum) value in a range of cells.
Example: =MAX(B2:B10)
This scans every cell from B2 down through B10 and returns the single largest number.
4. MIN
The MIN function finds the lowest (minimum) value in a range of cells.
Example: =MIN(B2:B10)
This scans every cell from B2 down through B10 and returns the single smallest number.
Which can help you identify the course or assessment where your score was lowest.
5. COUNT
The COUNT function counts how many cells in a range contain numbers.
Example: =COUNT(B2:B10)
This scans every cell from B2 down through B10 and counts only the cells that have numeric values, ignoring blank cells and text
COUNT tells you how many cells in the selected range contain numbers.
These functions are enough to give a beginner a solid foundation.
How to Calculate Your Average Score in Spreadsheet
Suppose your course scores are:
- English = 80
- Mathematics = 85
- Physics = 90
- Economics = 75
Instead of calculating the average manually, enter:
=AVERAGE(D2:D5)
The spreadsheet calculates the average for you.
Imagine doing this with 50 or 100 scores.
That is when you really begin to appreciate what spreadsheets can do.
How to Calculate Percentages
Percentages are also easy to calculate.
Suppose you scored 72 out of 100.
You can enter:
=72/100*100
to obtain:
72%
You can also use cell references.
If your score is in B2 and the maximum possible score is in C2:
=B2/C2*100
This becomes especially useful when you have many scores to calculate.
Excel or Google Sheets: Which Should You Learn?
You don’t necessarily have to choose one forever. Both Excel and Google Sheets can be useful once you understand how to use them effectively.
However, there’re some distinctions between the two that determines when best to use each.
1. Microsoft Excel
Excel is useful when you need to work with:
- Calculations
- Large datasets
- Charts
- Data analysis
- More complex spreadsheets
2. Google Sheets
Google Sheets is convenient when you need:
- Browser-based access
- Easy sharing
- Collaboration
- Cloud-based storage
- Access across different devices
The important thing is not to become obsessed with which application is “better.”
Learn the underlying spreadsheet skills.
Once you understand rows, columns, cells, formulas, and functions, you can transfer those skills between spreadsheet applications.
Next Decisive Step to take on How to Use a Spreadsheet?
Once you understand the fundamentals in this article, you’re ready to move from learning what a spreadsheet is to using it to solve real academic problems.
That means you already know how to:
- Track your grades
- Organize research data
- Sort information
- Filter large datasets
- Create charts
- Analyze your academic performance
- Track scholarship opportunities
- Manage student expenses
I cover those practical applications in our next guide on how to use a spreadsheet for academic work as a student.
That article takes the skills you have just learned and shows you how to turn them into a practical academic system.
Core Principles on How to Use a Spreadsheet
Don’t let the rows, columns, and formulas scare you.
A spreadsheet is not something you have to understand all at once.
Start with one simple table.
Enter your courses.
Add your scores.
Calculate your total.
Then calculate your average.
Once you understand those few steps, you have already crossed the biggest barrier: getting started.
And remember:
“You don’t learn spreadsheets by trying to memorize every formula; you learn them by solving one useful problem at a time.”
The more problems you solve, the more naturally spreadsheets will begin to fit into your academic life.